Embroidery: Pattern Transfer Methods
There are many different ways to transfer an embroidery pattern to fabric. Often it is the fabric type or color you are using, or the materials that you have on hand, that will help to decide which method is best for you.
Tracing
The tracing method will need the printed embroidery design, a washable fabric pen or pencil (make sure that it is water soluble or heat erasable), and a flat light source. This method is generally best for light colored fabric that is smooth or lightly textured.
To trace your pattern, first print off the design in the correct size for the project being created. If your fabric is thin enough, you may be able to place your fabric directly over the paper and begin tracing. If you can not see the design through the fabric, tape your printed paper to a bright window or a tracing lightbox (Amazon has many affordable options), then place your fabric on top and carefully trace your design using a washable/erasable pen or pencil. Be sure to test your pen or pencil prior to creating the design as some pens are less washable than others and may leave a "ghost" of the design that reappears when fabric is heated or cooled.

If you use a projector to transfer your sewing patterns onto your fabric, it would also be an ideal method for tracing embroidery designs. Heat-erasable pens can be found in multiple colors that would work on both light and dark fabrics.
Heat Transfer
Another way to place your embroidery design on fabric is to use heat transfer pens or pencils. This method will require a printed pattern, a heat transfer marking tool, and an iron. Similar to the tracing method, heat transfer works best on light colored fabric.
After printing, turn the paper over and carefully trace the design on the back with a heat transfer pen or pencil. Make sure that the design is mirrored in your tracing, or it will transfer onto the fabric backwards. Place the paper on top of the fabric with the tracing side down and firmly press the iron down. Keep your iron still so that the paper does not move and the design does not blur. Please be aware that most transfer pens are permanent and do not wash out.
Stabilizer
Using embroidery stabilizer is a great way to transfer embroidery patterns onto darker, or more textured, fabrics. The three most popular types of stabilizer used for embroidery are water soluble, sticky and soluble, and tear away.

Water soluble and tear away stabilizers can be bought in small sheets or by the yard. After tracing the embroidery design onto the stabilizer, baste or use your embroidery hoop with a running stitch to secure it in place on top of the fabric. Embroider through both layers, then tear or wash away the stabilizer as per the instructions on the packaging.
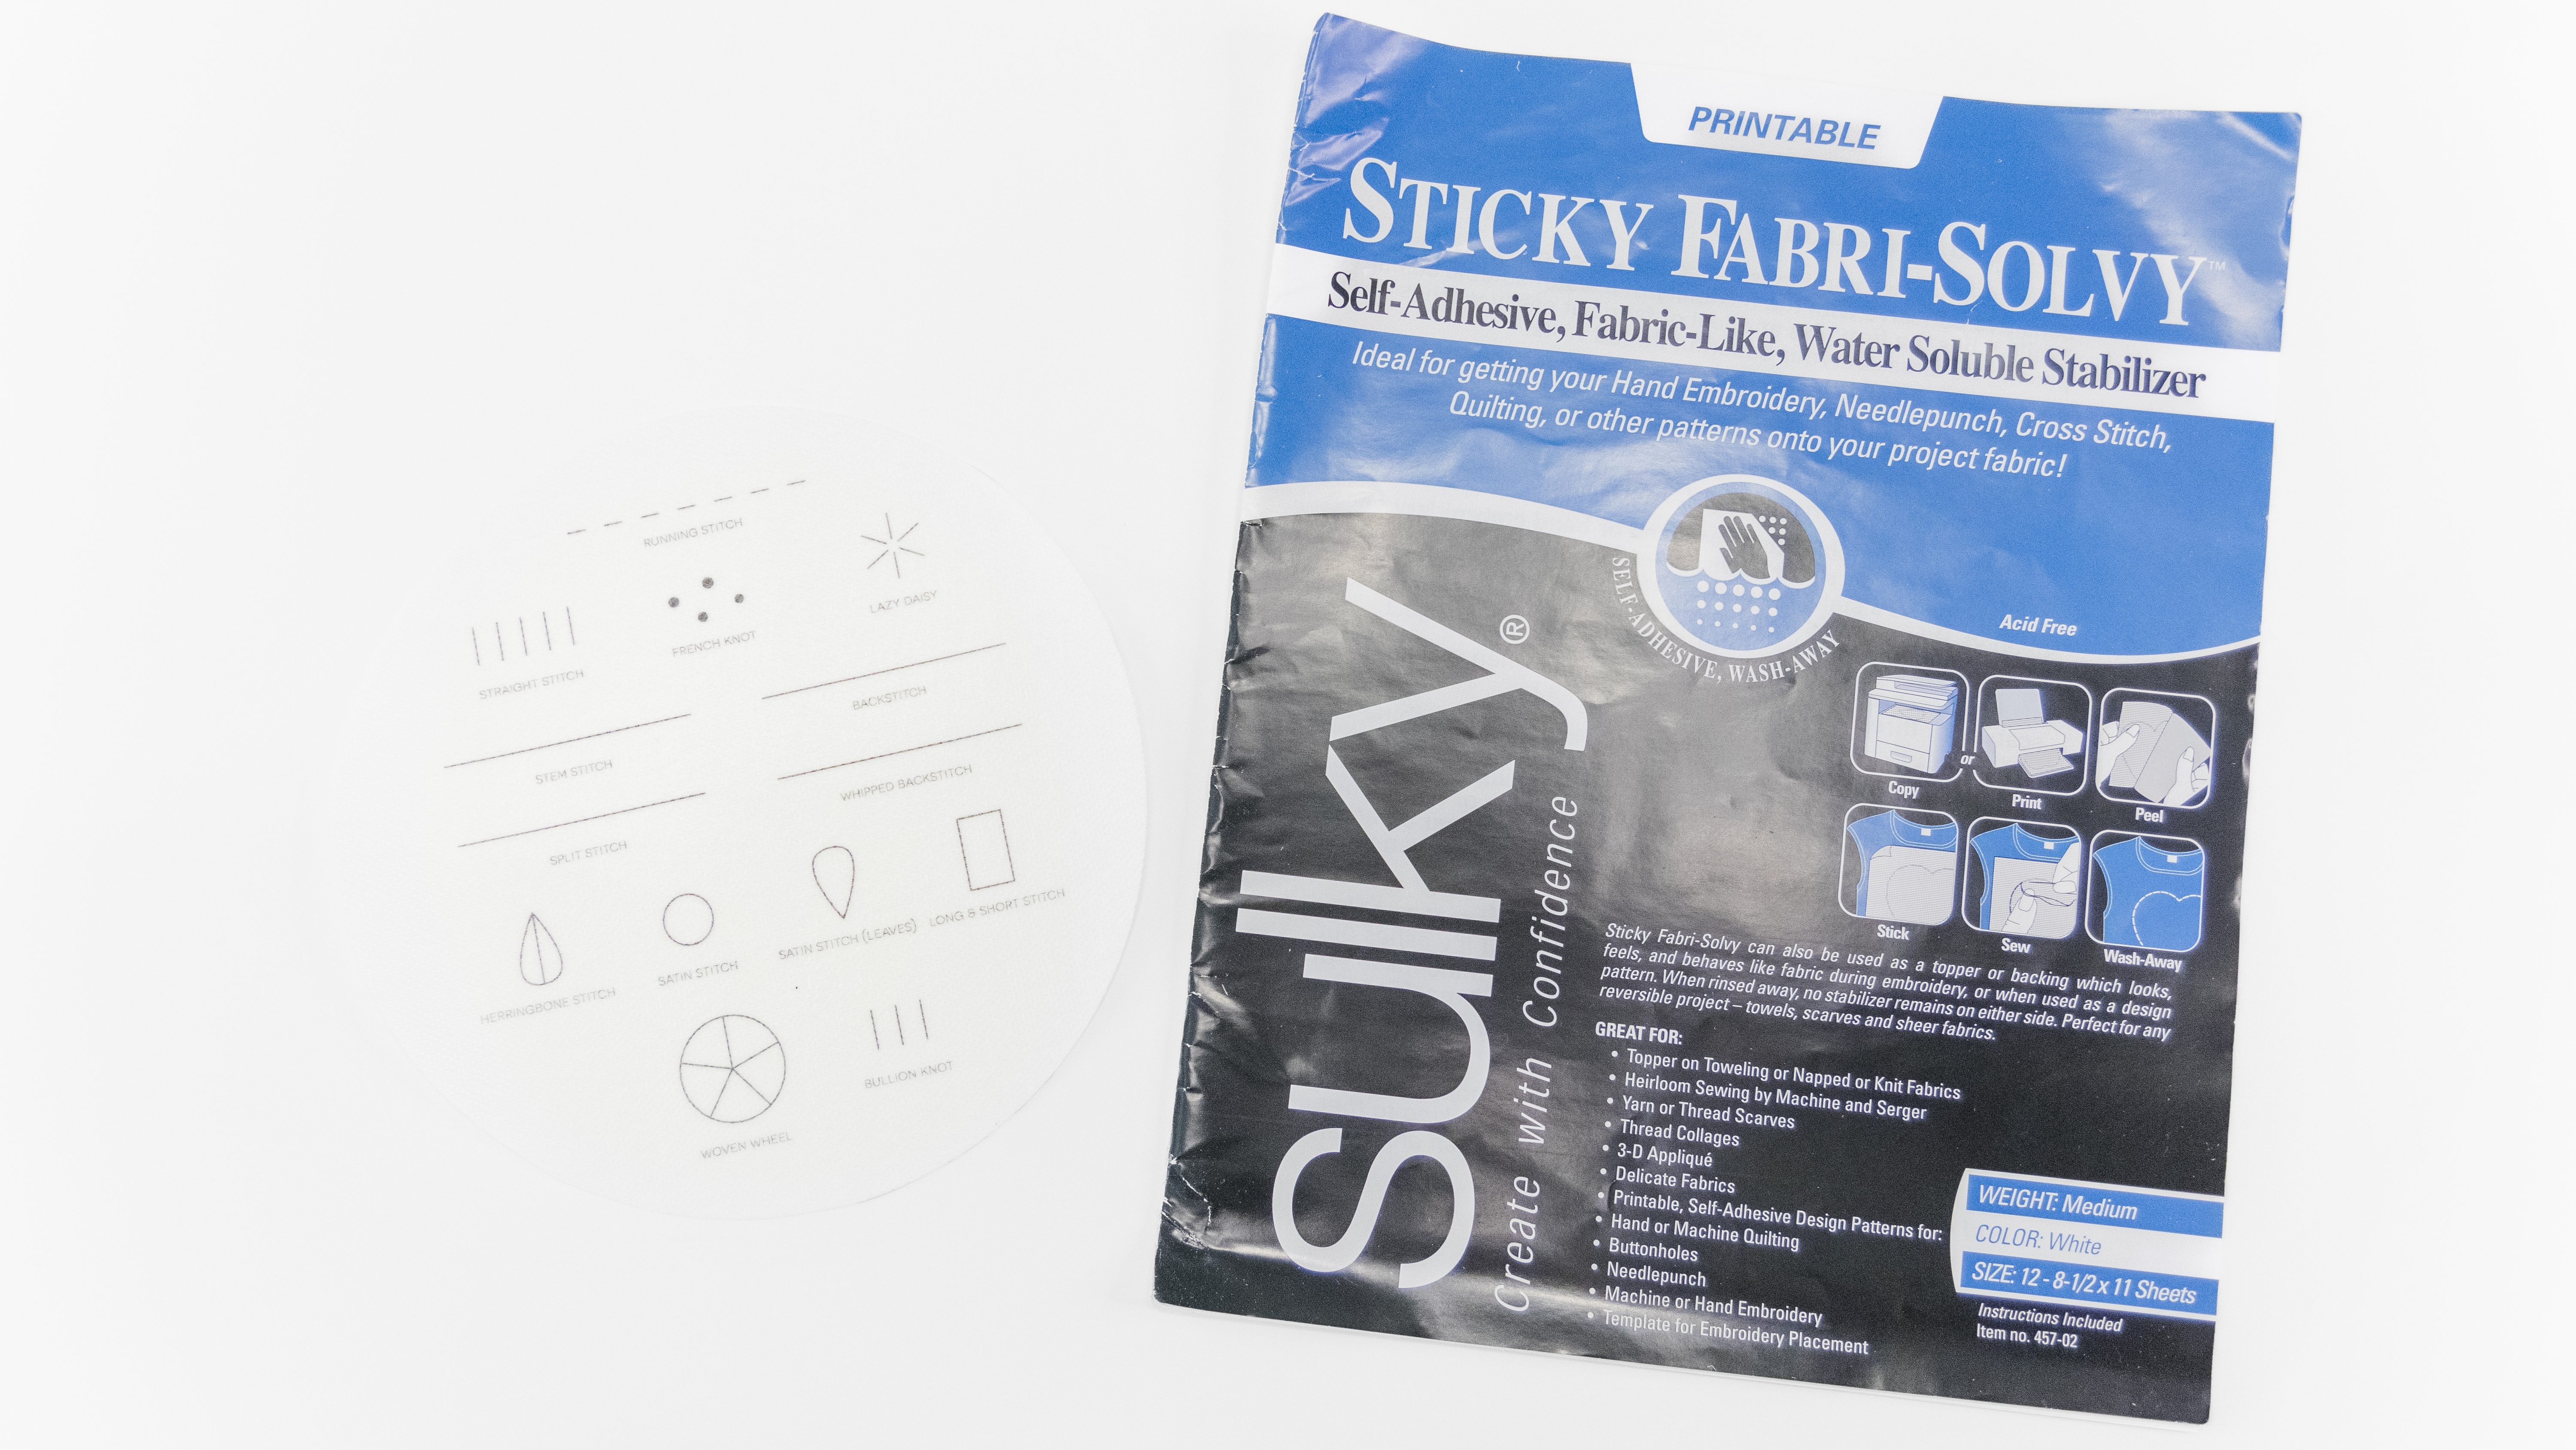
One of the easiest stabilizers to use in embroidery is Sulky brand Sticky Fabri-Solvy. Simply place their 8.5" by 11" sheet in the printer, ensuring that the design will by printed onto the fabric side of the paper. Once the pattern is printed, cut out the design, peel off the paper backing, and place directly on the fabric. Make sure that the fabric is already stretched into the hoop to avoid warping of the stabilizer. After finishing the embroidery, wash away the stabilizer as
directed in the product instructions.